Labels

Tuesday, November 3, 2015

From Messy Kid's Desk, to Vanity for Mom

I have wanted a vanity for forever!  I really want one of those beautiful antique wooden vanity's with all the details and the three sided mirror, but who can afford that?  With that in mind and the saying "Fake it till you make it", I figured I would slap me together something at least resembling a vanity.  So I brainstormed a little and realized we had an extra kid's desk in the younger boys' room.  Hmmmm, I came up with a plan.  Apparently, I was really desperate at the time because it looked like this...


I told you it was fresh from the kid's room!  Anyway, I came up with a plan!  I took it into my room and lifted up the glass and laid sheer fabric table clothes over the frame of the desk. I had the table clothes left over from my wedding (so what the hell was I going to do with them?).


  Then I put some of my vintage treasures on top after I replaced the glass.  This is what I came up with...


The mirrored tray and the vanity set were actually my grandmother's. She gave them to me last year when I helped her clean out her shed.  I already had the perfume bottles (also given to me).  The jewelry box was a wedding gift and the flowers were the ones I carried when I got married.  We had a Halloween themed wedding.  My entire little vanity area was free.  All put together from things I already had.  


Tea Cart - Before and After

I love vintage stuff; clothes, dishes, hats, decor, furniture...you name it!  I can see potential in so many things people throw away.  It really makes me sick to see it!  So last year, when my step-mom decided to flip a house, I scored a few treasures.  One was a little tea cart.  I know y'all have seen these adorable little brightly colored carts all over Pinterest and wondered where in the hell people were getting them...At least, I know I was wondering. I saw an adorable little red one in an antique shop one time and they wanted a fortune for it. So, when I was walking through the flip house and saw a funky looking brown tea cart with brass colored handles, I could see potential.  They were just about to toss it in the dumpster when I saved it!  


Yeah, I get it, it was freaking ugly!  But I knew it didn't have to be.  I took it home.  It sat in the shed for the last year, and last week, I finally painted it to match my kitchen.  The colors in my kitchen are teal and red and I plan on putting this little cart in front of the sliding glass door (the side that doesn't slide).  So since my curtains are red, I painted it teal with silver handles. 

I think it came out great.  I can't wait to finish it off with some cute little vintage kitchen objects!

Friday, October 23, 2015

Make Your Own Homemade Taco Seasoning

Are you tired of all the additives in store bought taco seasoning?..thinking you have a packet and starting dinner to find out you don't?..having to spend a dollar to season one pound of meat?...If you are tired of any or all of it, you can make your own taco seasoning really easy.  I buy my seasonings in bulk from the Amish, Sam's, or GFS so I already had all the seasoning I needed in my kitchen. 

If you are like me, chances are you have already looked through possible recipes and found that a lot of the ones on Pinterest and other sites are single serve.  Mixing up seasoning every time I need it just seems like a waste of time to me when I could make a batch, put it next to the stove, and scoop it out as needed. 


I was able to find this cute little jar at Goodwill and I decided to put it to use for my taco seasoning needs.  I would love to tell y'all the exact amount this jar holds but I am not sure.  My guess is about three cups.  This recipe fills the jar almost to the top. 

Homemade/DIY Taco Seasoning in Bulk

1-1/4 cup Chili Powder
3 tbs + 1 tsp Garlic Powder
1 tbs + 2 tsp Onion Powder
3 tbs + 1 tsp Oregano
3 tbs +1 tsp Paprika
1/2 cup + 2 tbs Ground Cumin
1/4 cup + 2 tbs + 2 tsp Sea Salt
1/4 cup + 2 tbs + 2 tsp Black Pepper

Simply mix all ingredients and store for use.

I recommend 2 tbs for a pound of beef.  You may require slightly more for chicken.  When you add seasoning, add a little water or broth to help absorption just as you would with the store bought packet seasoning.


The Ducklings; an Intro"duck"tion to Frank

 You might remember that a couple days after I quit my job last spring, I got two ducklings.  Over the summer, my son asked for ducks for his 17th birthday because he fell in love with mine.  He wanted a specific breed called Cayuga.  They are black and tend to have a green sheen to their feathers and that is his favorite color.  So what do you think sucker me did?  I bought the kid ducks.

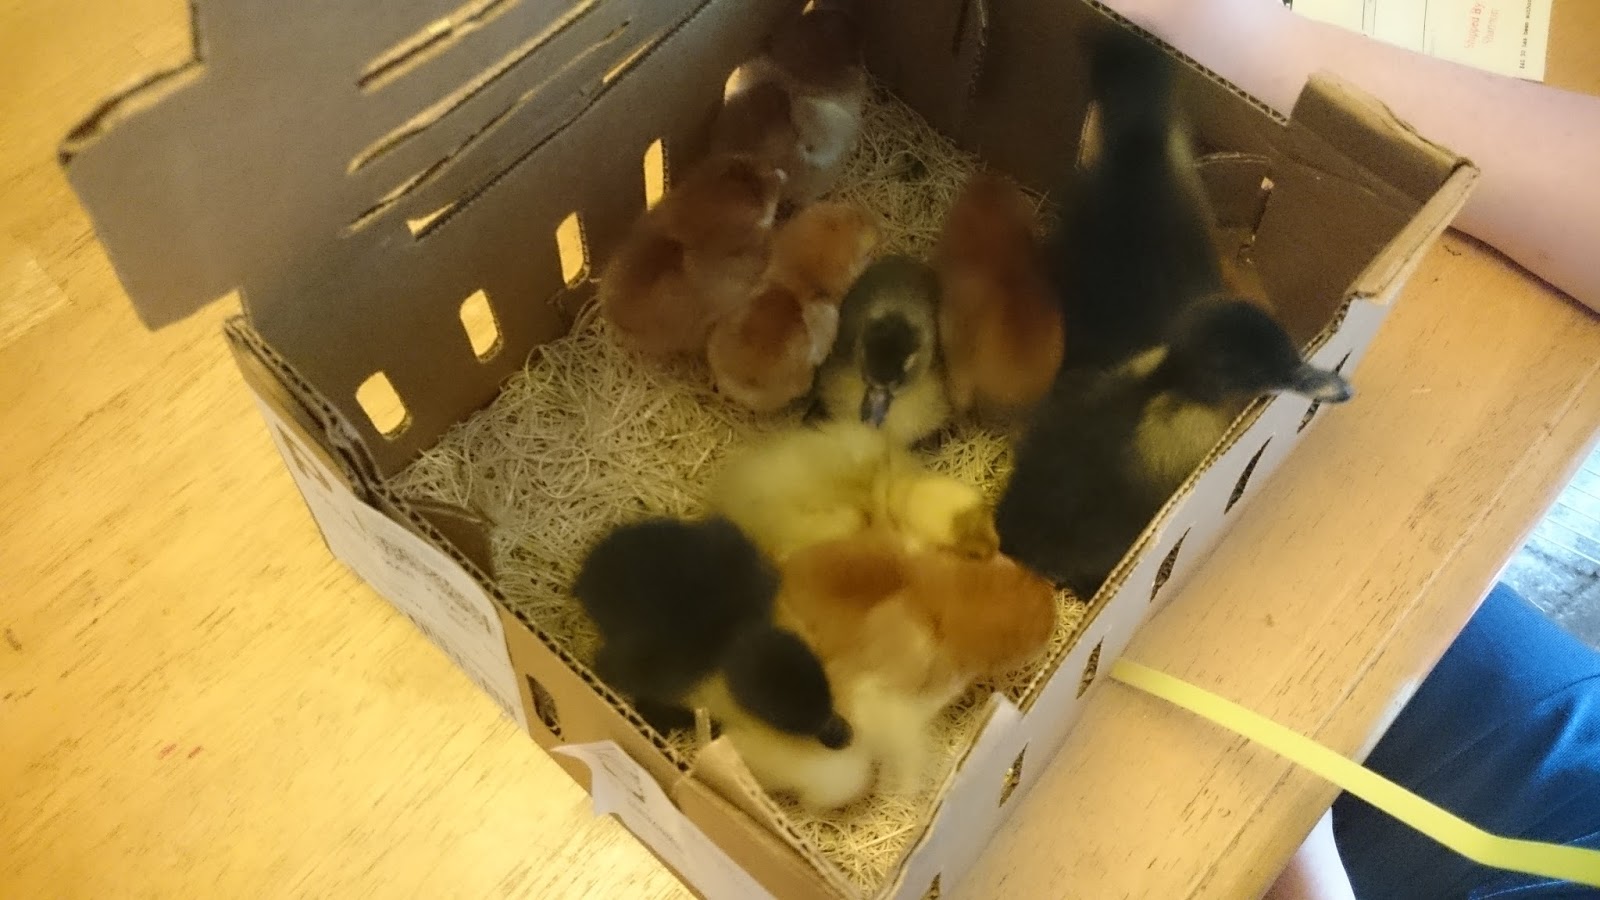
Actually, I ordered 5 ducklings from a hatchery.  When they arrived, we got a call from the post office at 6 in the morning to go pick them up.  We got their and opened our very loud box. We were a little surprised by what we found...


Yeah, your eyes aren't deceiving you; there are more than just 5 ducklings in that box.


There were also 5 baby roosters.  Turns out, the company I ordered from, sends the roosters like packing peanuts to keep the ducklings warm.  I had read that on their site but had assumed that since it was almost July and they were shipping from Texas to Tennessee, extra warmth wouldn't be needed.  I WAS WRONG!  Oh well, I got on Facebook, found a local buy, sell, and trade group and found them a new home.  First crisis averted...


The next crisis came too soon after the first one was averted though.  The adorable little yellow and gray one on the far right (a female Blue Swedish) seemed lethargic all day and died by the next morning.  My son was heart broken.  Three days later, one of the black ones (one of the 2 Cayuga's we ordered) started to act lethargic and passed within 24 hours.  Despite my efforts to locate an avian vet in time to save it (we ordered a boy and a girl Cayuga, not sure which one that was), we could find no one that would help.  A week after we got the babies, the other Cayuga showed signs of the same illness and by this time it was painfully obvious that this baby wasn't growing at the same rate as the other two that were left.  My son and I scoured the internet, talked to duck rescuers in Facebook groups and finally found a vet in the next county over that agreed to see the baby after hours.  We took all three of the remaining ducklings in, just in case the other two needed to be treated.  The vet said it was obvious that they came from the hatchery sick because the sick one was half the size of the other two.  She gave us antibiotics and supplements to give the sick duckling.  In a week, he/she was better, but his legs were beginning to splay.   We took him back to the vet (who was surprised he had even survived) and she put splints on his legs and we worked with him for a few weeks trying to save his legs.  It was of no use.  They were permanently deformed.  The last two ducklings never got sick.  They are Runner ducks, a black one and a fawn and white one.  The little sick baby is now named Frank despite the fact that we don't really know what sex he is.  He lives in the house in a playpen during the day, and a padded clothes basket at night.  My son dotes on that sweet duck and plays with him constantly. 

 This is Frank during his recovery.  We had his legs in splint so he had to be wrapped in towels to keep him from trying to walk. 

This is the other two surviving ducklings when they were little.

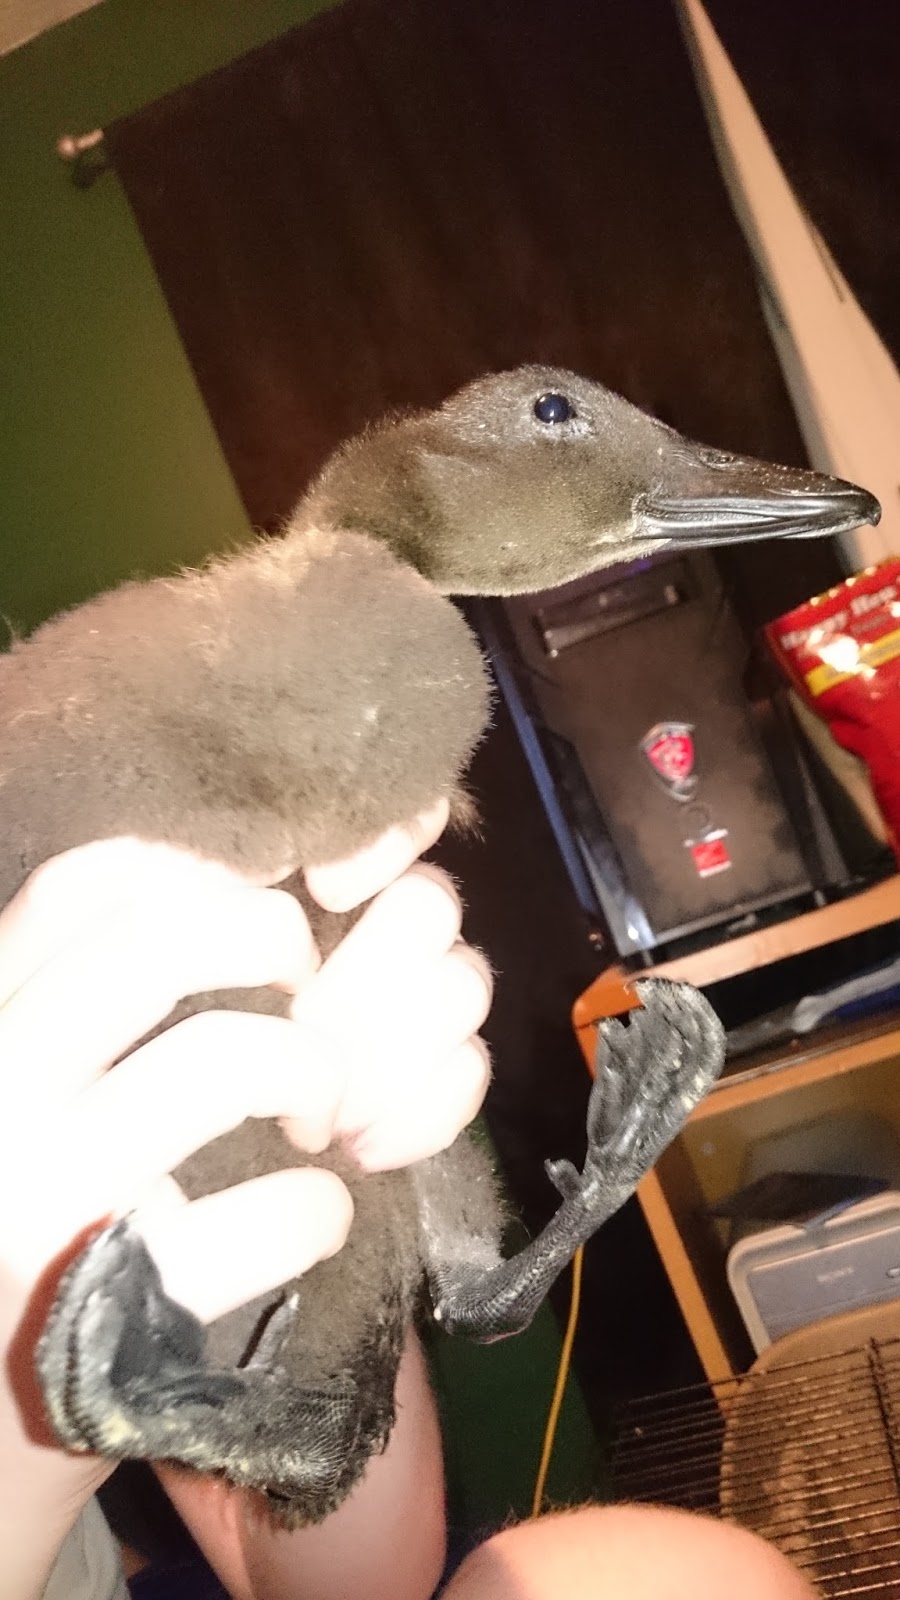
This is what Franks legs look like.  He was only about 6 weeks old here.

This is the two healthy ducklings on their first day in the duck run outside.  They are happy and healthy.

This is Frank on his first day in his playpen. 


Thursday, October 22, 2015

Simple Lego Decor

I needed more on my sons' walls then just mounted Minifigs.  I looked through the house for other things to use as decor.  I had some old white picture frames laying around so I decided to find some Lego "art" to put in them.  I gathered all the instruction books from the Lego sets we had bought over the years and found two pages that were very similar.  The only problem was that they were too small for the frames. I solved the problem by using some green scrapbook paper that I already had.  This worked out great for me because it is the same shade as the accent wall in the boys' room.  I just used tape to center everything.


Upcycled Lego Decor

My step-sons really wanted a Lego themed room.  We have a million of them around and I was trying to figure out some inexpensive ways to create something for their walls with Legos.  So I went out to the shed in the yard and looked around at the heaps of lovely stuff (junk) everywhere to try to find inspiration.  My eyes fell upon some old bed slats against the wall.  Having boys, we have had plenty of beds that didn't live up to expectations.  Furniture just isn't made to stand up to rowdy boys anymore.  I always keep the bed slats though because the kids always seem to break them.  So I brought them in and painted them a high gloss white (which we already had because it is also the trim color in their room).  I figured up a nice amount of spacing and started gluing Legos to them in varying colors.


I used Loctite to glue the Legos on.  The drilled holes you see are inset screw holes that were already in the slats.  Once I had all my Minifig platforms glued on, I decided to see how they would look.

After I figured out where I wanted the Minifigs on each platform, I hung the slats on the wall using the pre-drilled screw holes.  I chose to hang one over the closet door and one over each of the windows because I didn't want the boys taking them down or messing with them.  Many of these Minifigs had been my older son's and he didn't really want them in his room (he is 17) but he didn't want them messed up either.  This turned out to be the perfect storage solution for something we wanted to keep!


Tuesday, October 20, 2015

Music Themed Art for My Son's Room

My 15 year old loves music so I decided to make some music themed artwork to hang on his wall. I started with a frame I already had. I pulled out all my old CDs and let him pick which bands he wanted.  Then I lined them up.  To cover the gaps, I used black ribbon (the kind you curl on a package at Christmas time).  I just ran the ribbon over the gaps and taped the ends to the back.

Then I figured out where I wanted to hang it on the wall.  I took old records (nothing great, mainly old Christmas records that I didn't want anyway) and used small finishing nails to nail them up through the hole that is already in the center.  Since these records weren't anything "cool" I made sure they overlapped the labels enough so that they wouldn't stand out.  He is really happy with it and, of course, I am too (because it was free!!!).